Choose the route before choosing the generator
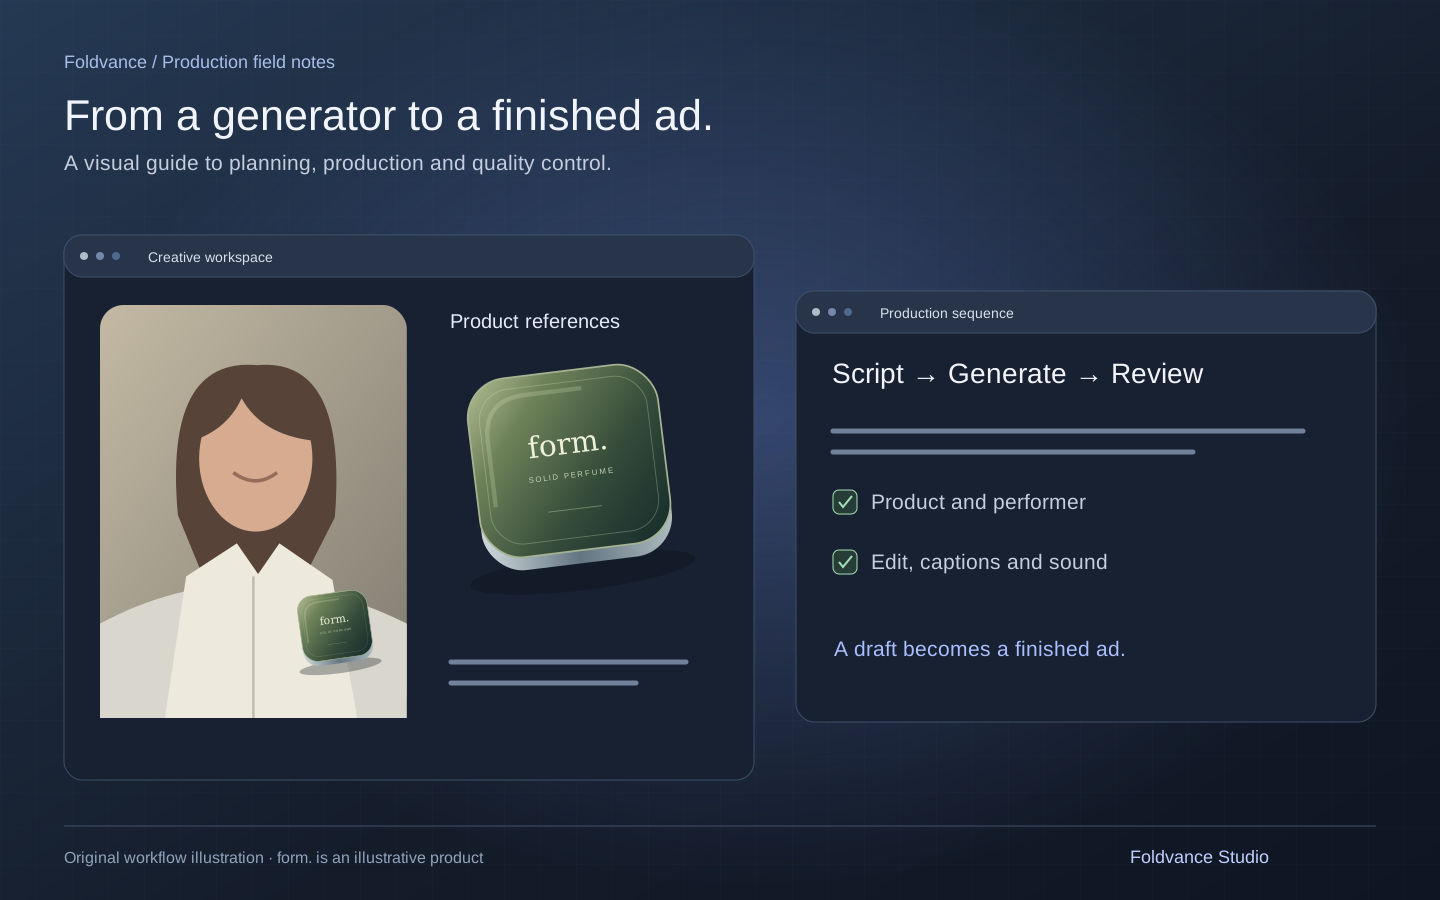
An AI UGC generator can combine a synthetic presenter, a script and product imagery into creator-style advertising. Start by deciding what you need: a person holding a small product, a talking-head introduction with separate product shots, or a video assembled from a product page. Those are different production tasks.
For a product-in-hand example, HeyGen documents a Product Placement workflow built around a product image, an avatar and a script. Creatify describes a URL-based route that extracts product information and develops an ad. Follow the current official instructions for your chosen tool; controls and plan availability can change.
The tool-specific sequence below follows HeyGen’s published guide, checked on 3 November 2026. The planning and quality-control steps are our production recommendations. Our near portfolio films illustrate the kind of finished work to evaluate; they were not produced as a test of this HeyGen tutorial.
1. Prepare a product reference sheet
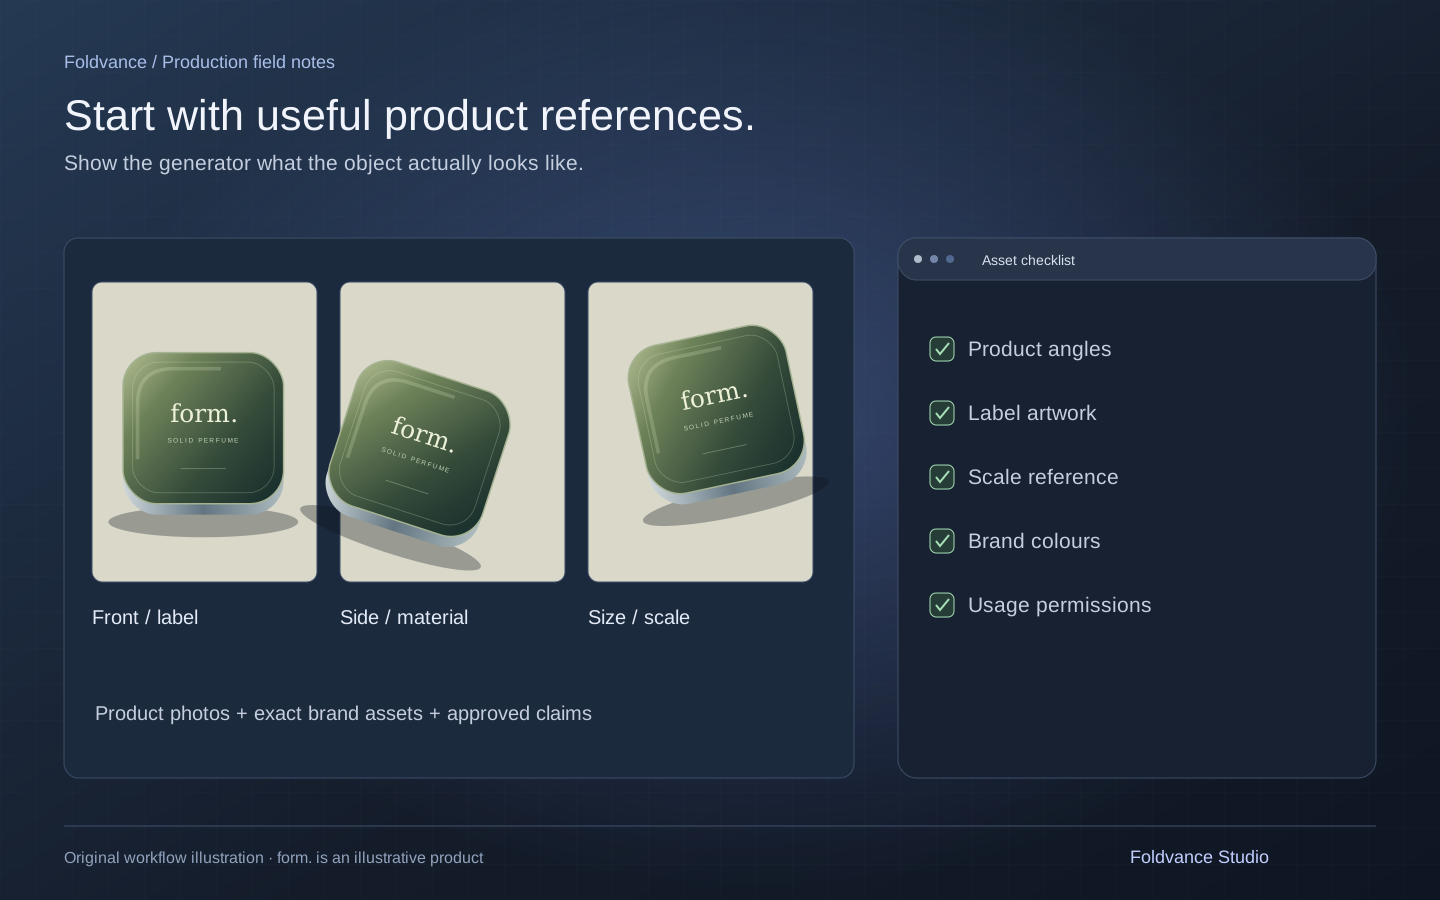
Collect clear front, side and back photographs, a close view of the label, and a photograph that establishes size. Add approved brand colours and the exact product name. For a compact, include separate open and closed views so an incorrect hinge or interior does not become part of the brief.
Write down the details that cannot change: silhouette, finish, label placement, cap or hinge, and how the product is normally used. A small product held by a presenter is a sensible first test. Save complex opening actions, spraying and reflective liquid shots for separate feasibility checks.
Keep a short asset list with filenames and permitted uses. Only upload material you are entitled to use. Product references should describe your actual item, not a competitor’s packaging with a different logo.
2. Write one message and a short spoken script
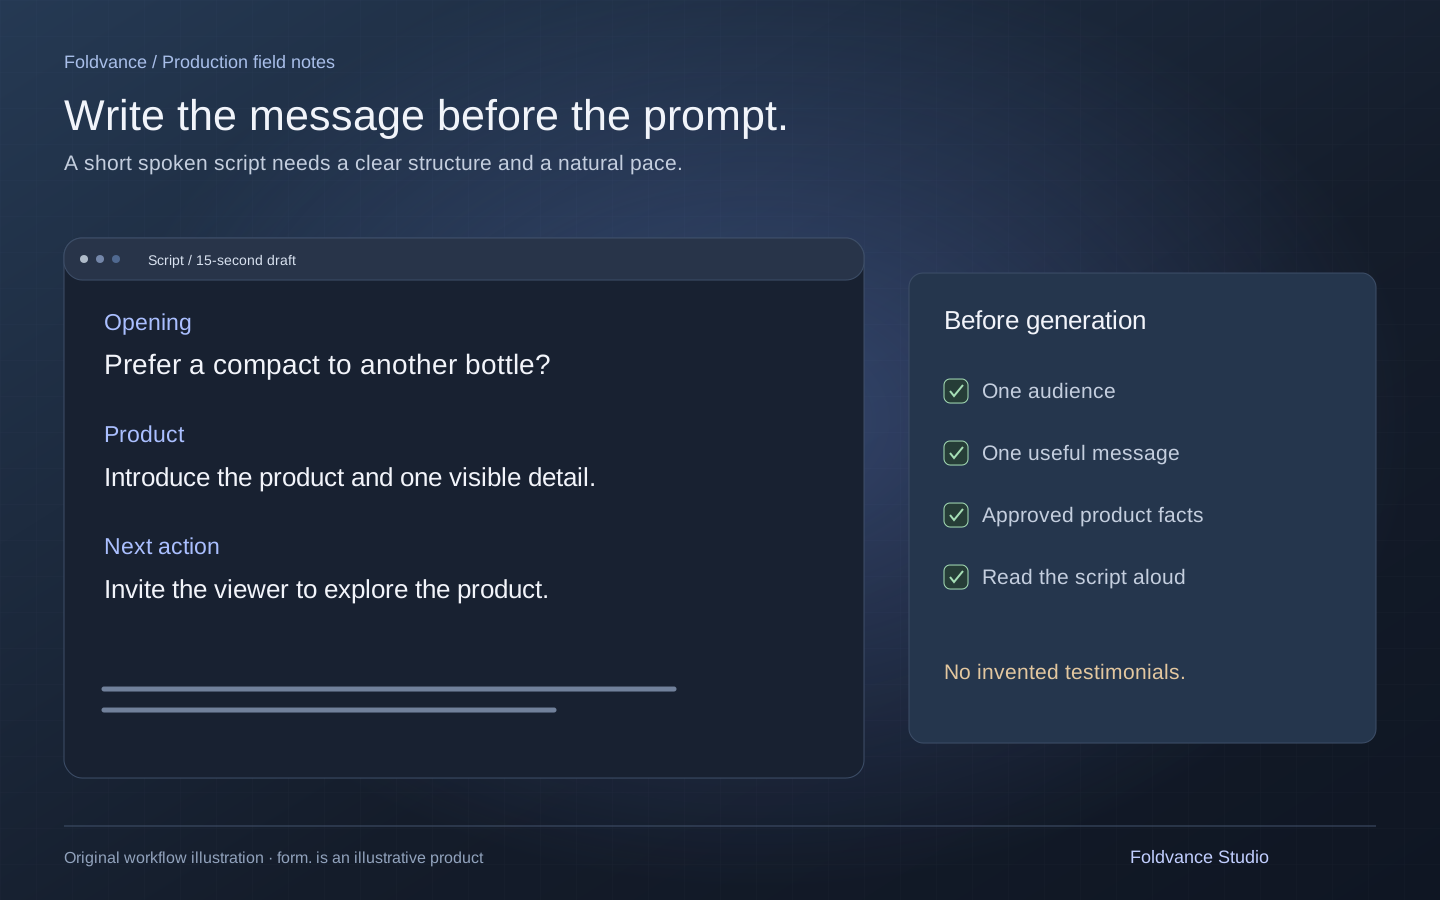
Choose a single audience, situation and next action. A practical structure is an opening observation, the product introduction, one visible detail and a call to action. Write the product detail from information the brand has approved; the generator should not invent benefits or customer experiences.
For a fictional solid perfume, a draft could be: “Prefer a compact to another bottle? Meet near, a solid perfume in a pocket-sized case. Open the compact for a closer look, then explore Tea & Cedar.” This is a script example for a concept, not a testimonial or evidence of product performance.
Read it aloud at the intended pace before generating. Mark pauses and difficult brand pronunciations. If the words do not fit comfortably, shorten the script rather than forcing the presenter to rush. Keep a second opening in a separate version so you can later compare one change at a time.
3. Generate a product-and-presenter image in HeyGen
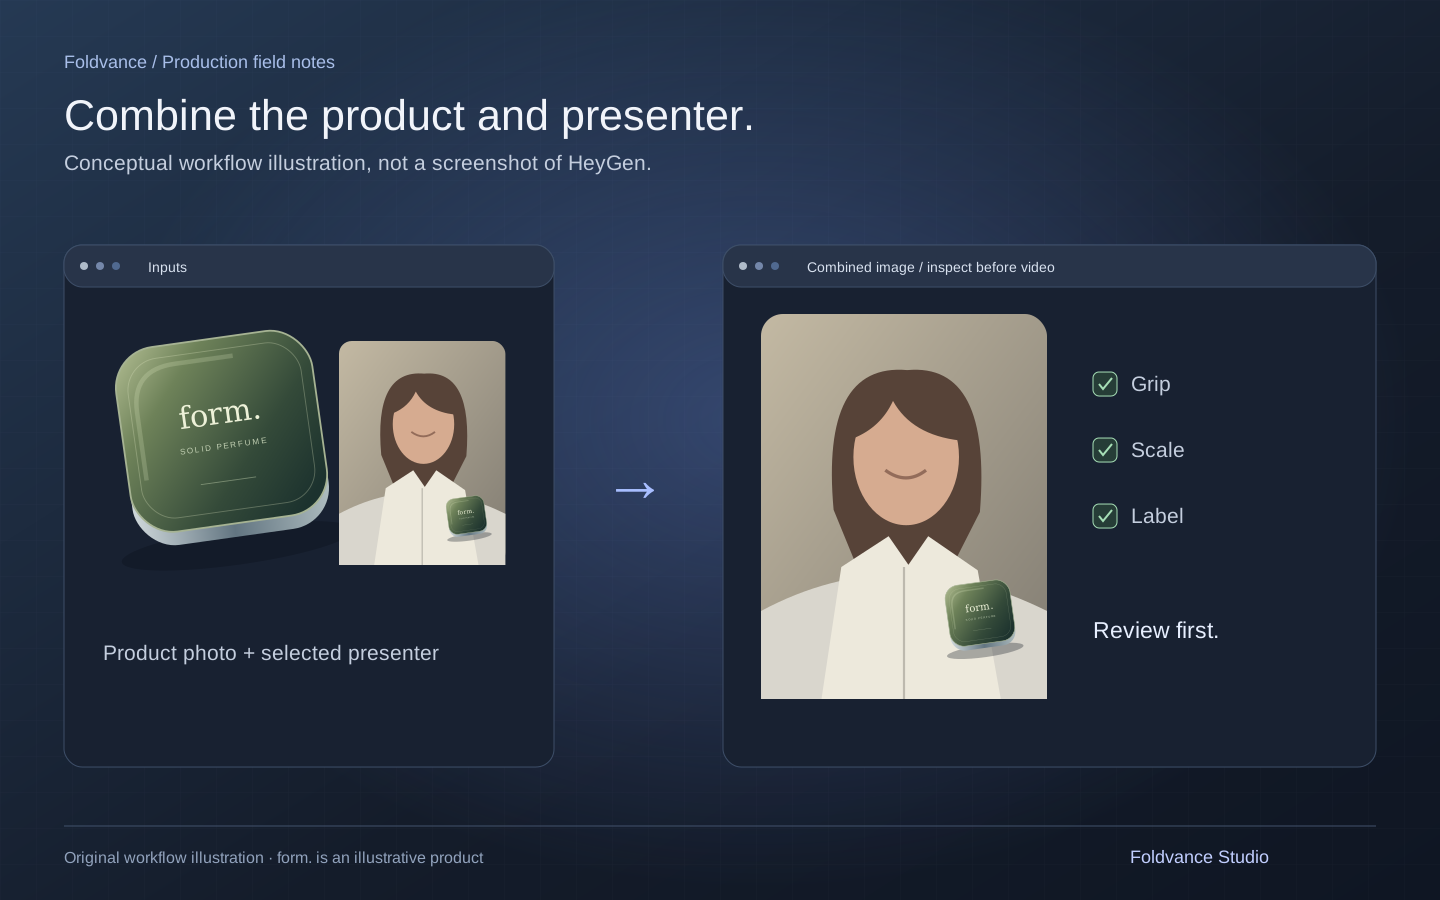
In HeyGen, open Apps and select Product Placement, or search for “product”. Upload the product photo and select an avatar. The official guide recommends handheld or small objects and notes that larger items may be reduced in scale.
Choose Generate Combined Images, inspect the resulting candidates, select a suitable image and continue with Next: Add a script. Check the product-to-hand scale, grip and visible label before moving on. If every candidate misrepresents the object, revise the reference or simplify the composition first.
4. Add speech and restrained movement
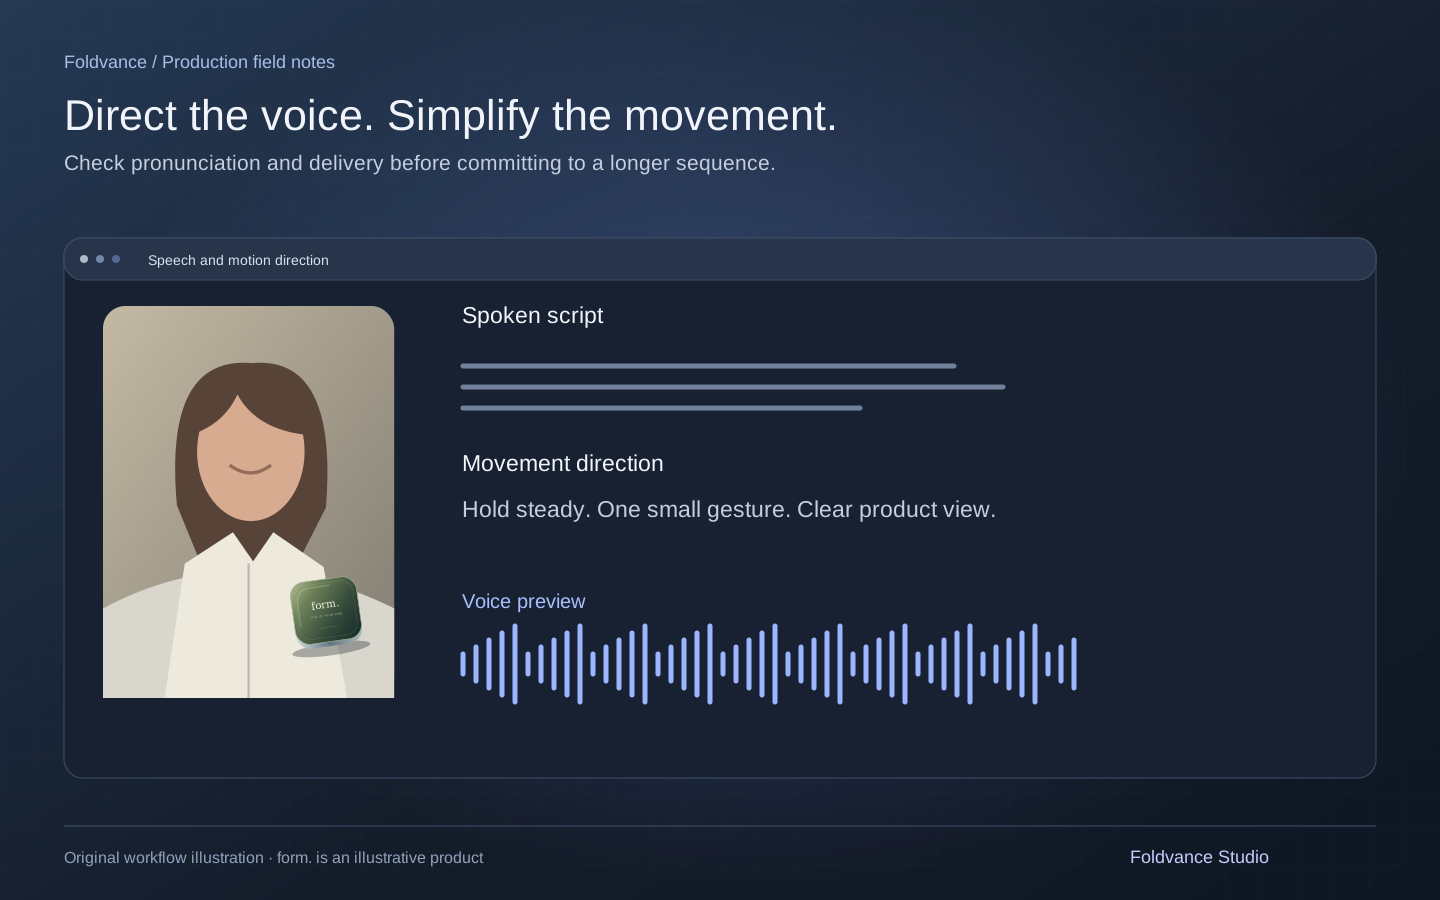
The documented HeyGen route then uses Avatar IV: add your script or audio, choose a voice, optionally describe custom motion, select an available resolution and generate the video. Confirm the available settings in your account before paying for a render.
For your first test, keep the action simple: hold the product steady, look towards the camera and use a small natural gesture. Avoid combining a package opening, a hand transfer and a camera move in the same initial shot. A draft is easier to diagnose when it asks for one clear action.
Preview pronunciation and delivery where the tool allows it. Use only a voice or likeness you have permission to use. A synthetic performer can introduce a product without pretending to be a real customer who has purchased or tested it.
5. Review the draft against the references
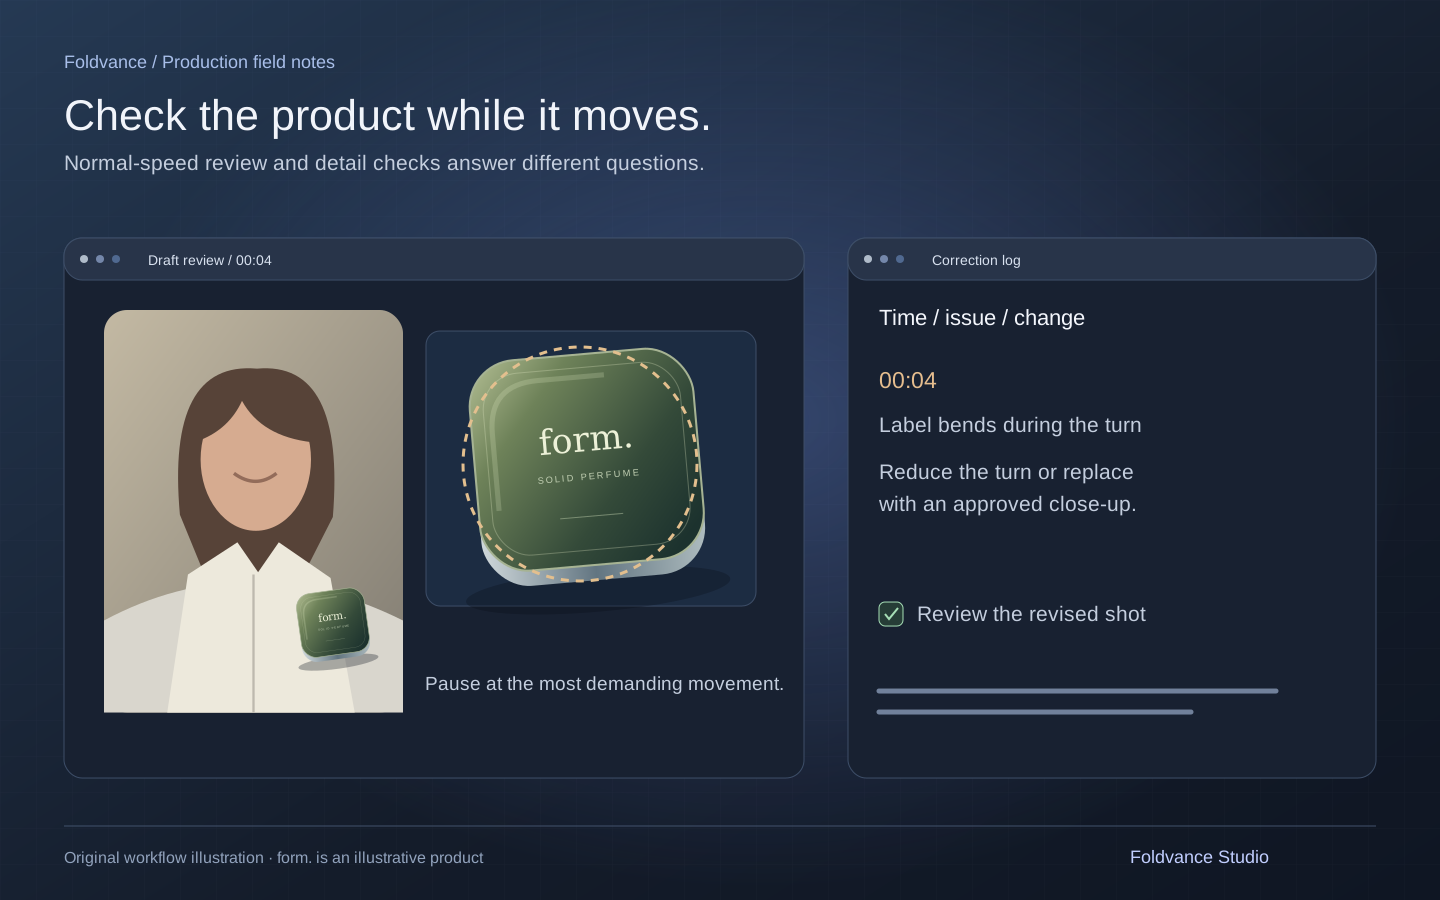
Watch once at normal speed for speech, pacing and whether the message is understandable. Then pause at the beginning, during the largest gesture and at the final product view. Compare the silhouette, label, colour, hinge and hand contact with the approved photographs.
Check whether the product changes size or shape as the presenter moves. Look for fingers passing through packaging, details disappearing behind a grip and text turning into invented letters. Review the complete shot as well as still frames: a convincing poster can hide an unstable movement.
Keep a correction list with three columns: timestamp, visible problem and proposed change. For example: “00:04 — label bends during the turn — reduce the turn or replace this moment with an approved close-up.” Regenerate or replace the affected shot instead of repeatedly changing the entire ad.
6. Build the edit around what the viewer needs to see
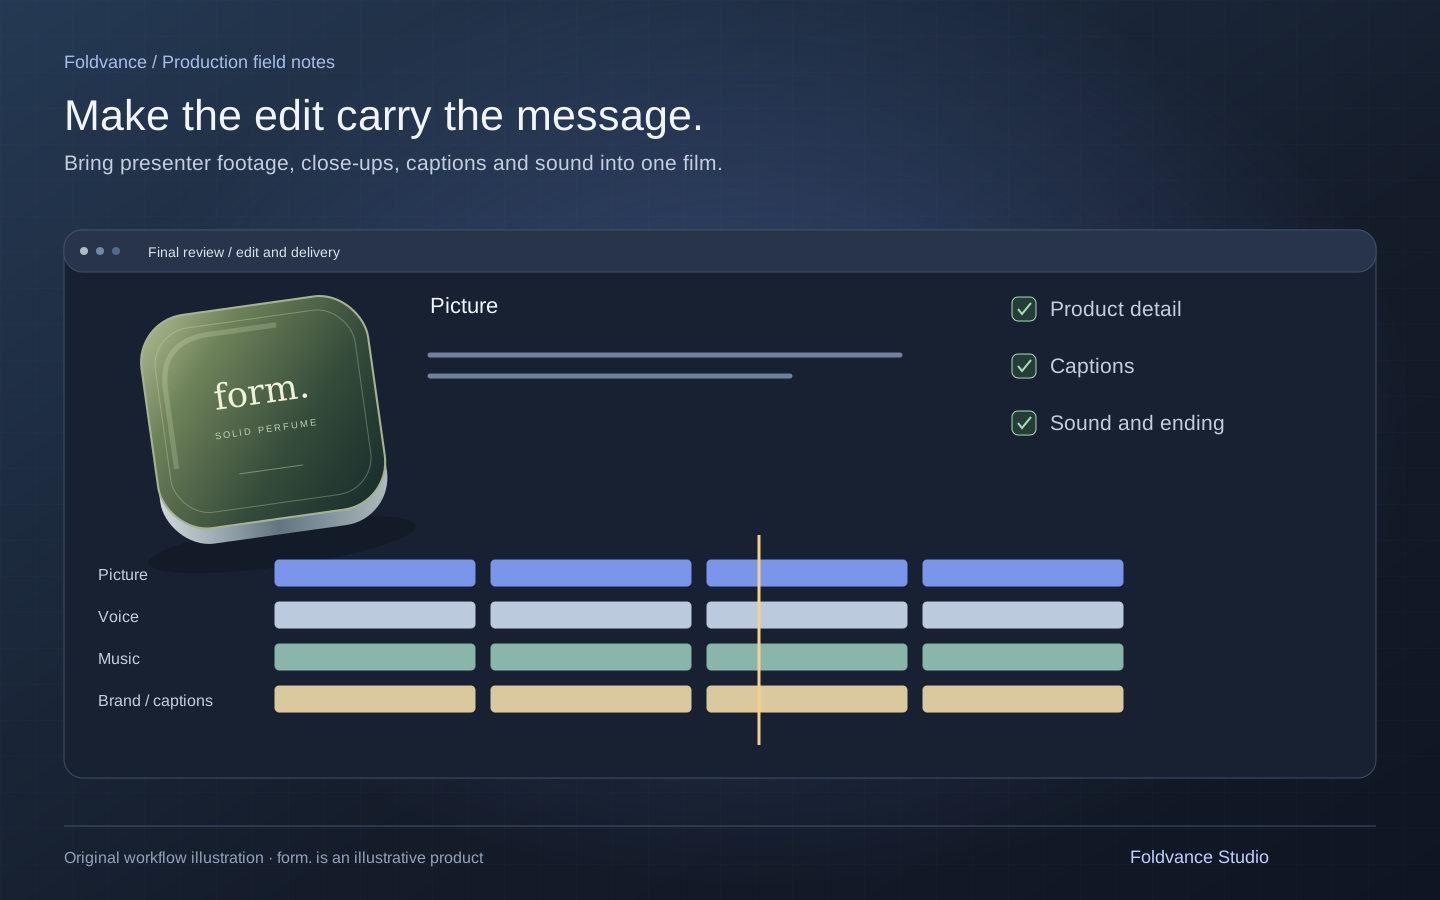
Place the usable presenter shot in your editing application. Add product close-ups only where they explain the message or cover a transition. If a precise detail cannot survive generation, consider an approved photograph or real footage for that moment instead of accepting a distorted package.
Add the brand mark and exact product typography during finishing. Check captions against the final spoken words, including the brand name. Keep essential text away from the intended platform’s interface overlays and preview the export on a phone with sound both on and off.
Listen for abrupt music cuts and speech that becomes hard to understand under the score. Choose music and sound assets with suitable usage rights. Make the final product view and next action readable at normal playback speed.
7. Export and keep a useful version record
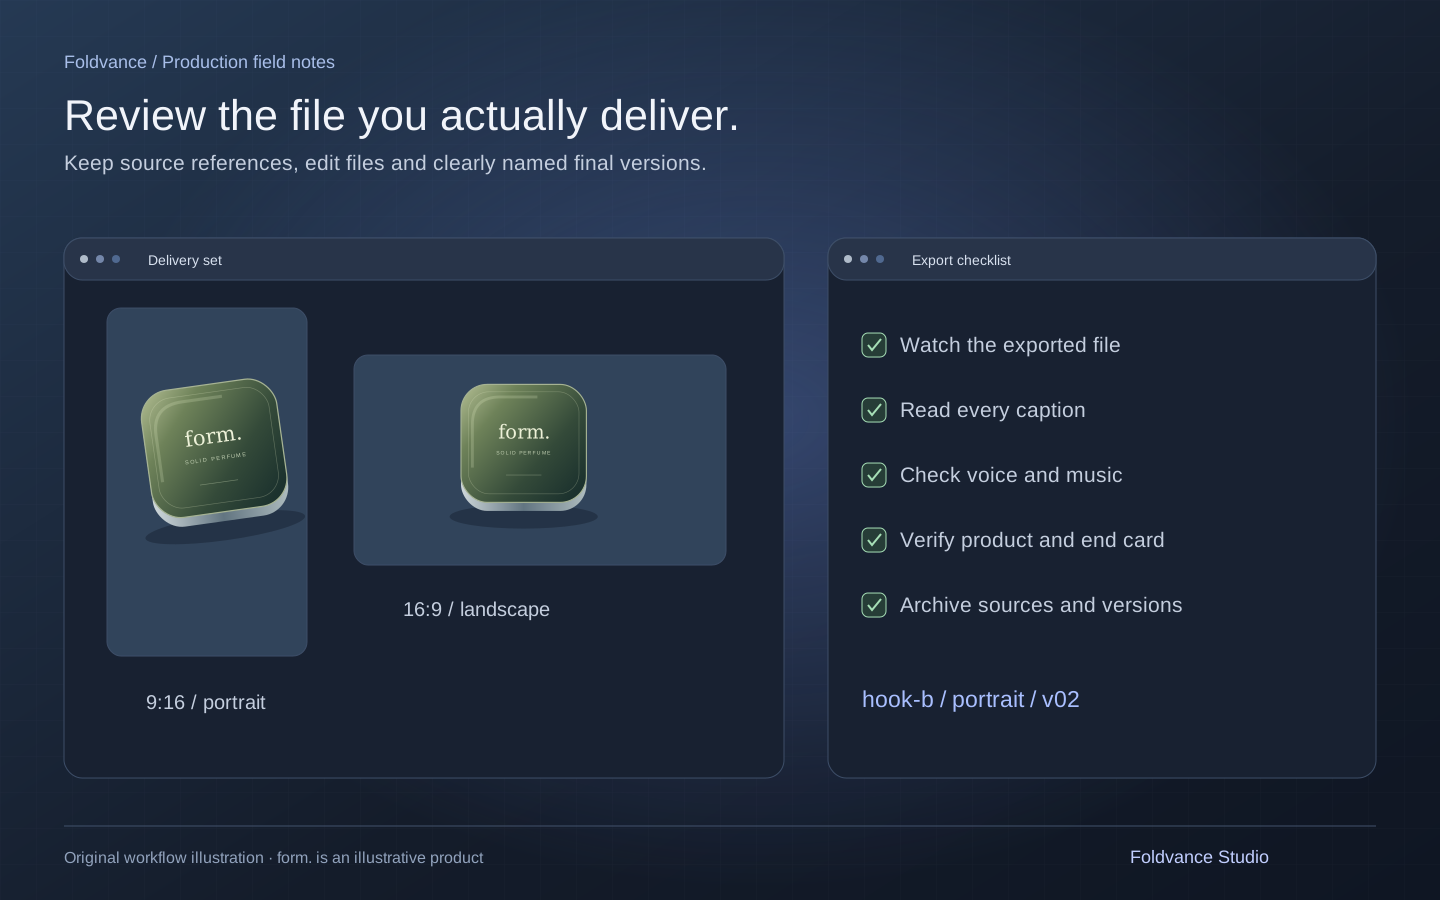
Export the agreed aspect ratio and duration for the placement. Watch the actual exported file from start to finish; a correct editing timeline does not by itself verify the delivered video. Recheck captions, sound, product details and the end card.
Keep the approved script, source references, project file, generated takes, correction notes and final exports together. Name versions by the change, such as “near-hook-b-portrait-v02”, so a future revision does not start from an unidentified MP4.
Record production costs separately from campaign results. A finished ad is ready for evaluation; its appearance cannot establish CTR, CPA or ROAS. If you run multiple openings, retain the version names so your media team can connect results to the correct creative.
When to use a generator and when to bring in a studio
A self-service generator is a useful route when your team can manage the script, references, review and edit. Start with one simple product shot and evaluate it before committing to a larger batch. You may find that this gives you everything your brief needs.
A production service becomes useful when the work needs coordinated shots, a consistent product and performer, exact brand finishing or several planned deliverables. Share your references and any existing draft with us; we can discuss the creative and finishing work that would help, with the scope agreed before production.